CAD Training
The purpose of this class is to provide enough skill to help you not get frustrated when working through the online tutorials, and to give you a forum to ask questions as you are working through the tutorials.
- This is a set of Tutorials that cover Basic use of the Software
- The most basic of features needed to do modeling and drawing of parts and assemblies.
- Additional details, good to understand prior to doing advanced work
- The material presented here is not intended to cover all functionality
- Utilizes basic shapes / widgets
- Emphasis is on understanding the software, not complicated geometry
- This material together to help students that want additional practice from tutorials.
- This material helps the students focus on the important fundamentals relating to:
- Parts: Modeling and Drawing
- Assemblies: Modeling and Drawing
CAD Software Installation
Before you can CAD robot parts, you need to install Source Control Software as well as CAD Software Components.
Source Control Software
We use GitHub Desktop as our source control software that accesses our CAD files stored on the Internet at GitHub.com (GitHub repositories). Follow these instructions to set up and install software to access our GitHub repositories.
- Create a GitHub account if you do not already have one (link here).
- Our CAD repositories are private, so you need to send us your GitHub account ID so that we can grant you the access to them.
- Once we grant you the access, you should receive an invitation from your registered email to be a collaborator to the CAD repositories. Accept the invitation before continuing with the next steps.
- Download and install the GitHub Desktop software from here.
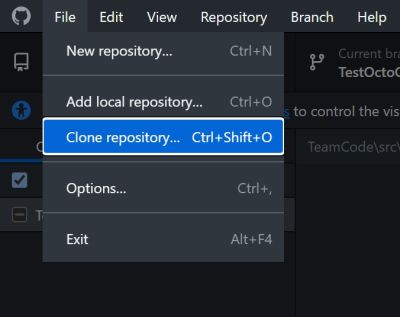
- Start GitHub Desktop, click File->Clone repository...

- Select the URL tab and enter the repository URL: https://github.com/TitanRoboticsClub/Inventor.git
- Enter the local path to clone the repository into. Please note that Windows may suggest cloning into your OneDrive folder. Unless you pay for huge storage on OneDrive, we recommend you change it to your local hard drive. For example:
C:\Users\<You>\Document\GitHub
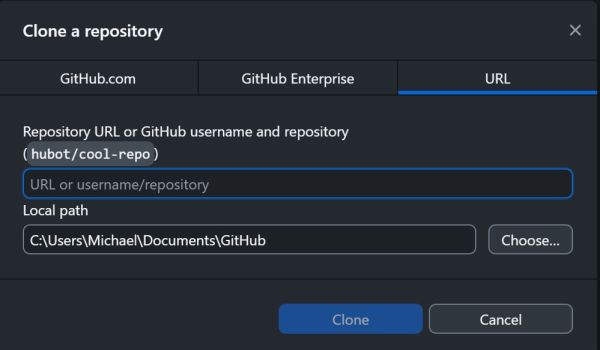

- Click the Clone button. This clones the Inventor container repository which includes a massive CADLibrary that contains all the vendor defined parts.
- Next step is to clone the CADTraining repository by clicking File->Clone repository...
- Select the URL tab and enter the repository URL: https://github.com/TitanRoboticsClub/CADTraining.git
- Enter the local path to clone the repository into. This must be inside the Inventory project you cloned previously.
For example:
C:\User\<You>\Document\GitHub\Inventor
- Click the Clone button.
Congratulations! You have now successfully cloned the CADTraining repository.
CAD Software Components
We use Autodesk Inventor as our CAD software. Autodesk provides free license for FIRST robotics teams. In general, CAD software requires relatively powerful computer hardware to run, especially in Computer Graphics. Our robot models will have less than 500 parts, so you can get by with minimum requirements as outlined below:
Autodesk Inventor System Requirements
To set up CAD software, you need to perform the following steps. A more in-depth software installation guide can be found here
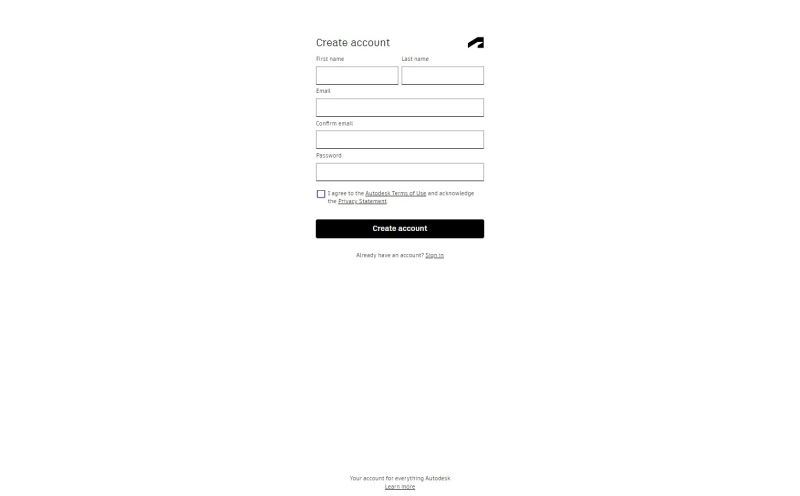
- Get an education account with Autodesk in order to obtain the proper education license here.

- Installing the latest Autodesk Inventor Pro here. If you want to install Inventor on a Mac, follow this link.
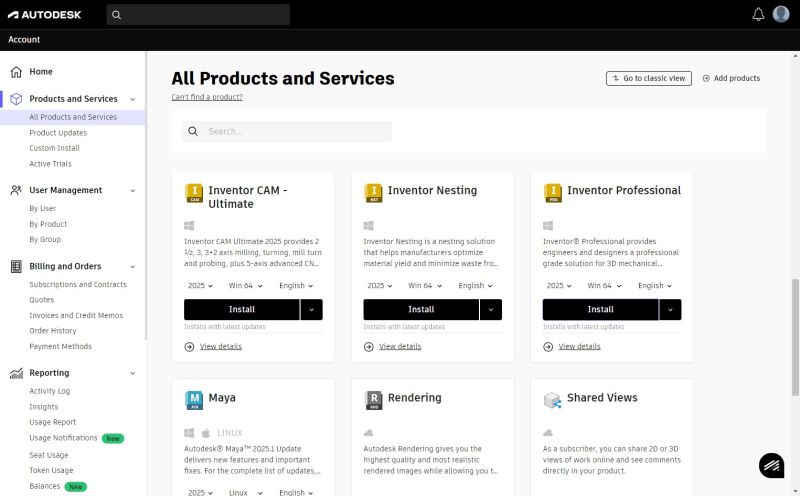

- Optionally installing the latest Autodesk Inventor CAM here if you are interested in learning CNC machining.
Class Syllabus
Pre-Work
- Software Downloads / Setup
- GitHub Setup
Day 1
- Inventor’s UI
- Ribbons
- Sketch Mode
- Create
- Modify: Trim, Extend, Split, Offset
- Patterns: Rectangular, Circular, Mirror
- Constraints (Dimension)
- Extrude
- Practice Sketching Exercise: 90-deg Gusset Plate
Day 2
- Constraints (cont)
- Modeling Mode
- Practice Sketching/Modeling exercise
- Vex T-Gusset Plate
- Modelling Mode
- Modify Commands (Basic Hole/Fillet/Chamfer)
- Model Feature Naming
- Hole Command
- Rev 15mm Corner Cube
Day 3
- Recap/Refresher
- Planes
- Intro to Revolve Command
- Torrid Ring
- (Wheel) Hub Detail
Day 4
- Modeling Best Practices
- Application Project
Day 5
- Assemblies
- Importing STEP files
- Content Center Placement
- Constraints
Day 6
- Assemblies
- Joints
- Design Accelerator (Potential)
- Project
Day 7
- Final Project (Day 1)
Day 8
- Final Project (Day 2)
Parts Drawings
- 90-deg Gusset Plate
- 30-deg Bracket Plate
- Vex T-Gusset
- Face Bearing Mount
- 15mm Corner Cube
- 15mm Inside Corner Bracket
- 1x1 Tube Plug
- V-Groove Bearing
- V-Groove Bearing Pulley
Lesson Videos
Lesson 1
Lesson 2
Lesson 3
Lesson 4
Lesson 5
Lesson 6
Lesson 7
Lesson 8
Lesson 9
Lesson 10
Lesson 11
Lesson 12
Lesson 13